step 1:
Install Git-SCM
- Download and run the install file from: http://git-scm.com/download/win
step 2 :
下載 source code
git clone git://github.com/ArduPilot/ardupilot.git
step 3:
Install MHV_AVR_Tools to its default location
http://firmware.ardupilot.org/Tools/Arduino/MHV_AVR_Tools_20121007.exe
step 4 :
Install ArduPilot-Arduino
step 5:
Configure Arduino
- Go to your Arduino folder
- Double click the Arduino icon
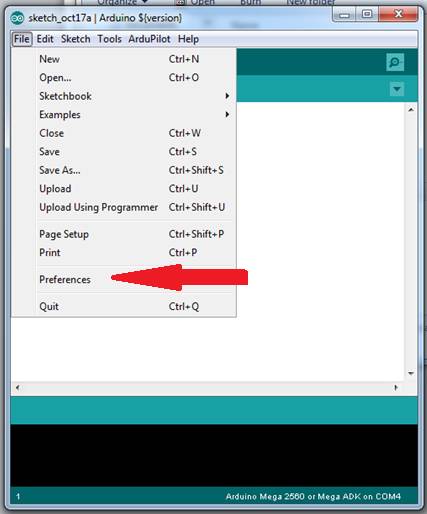
- When Arduino opens, go to the file menu
- Select preferences
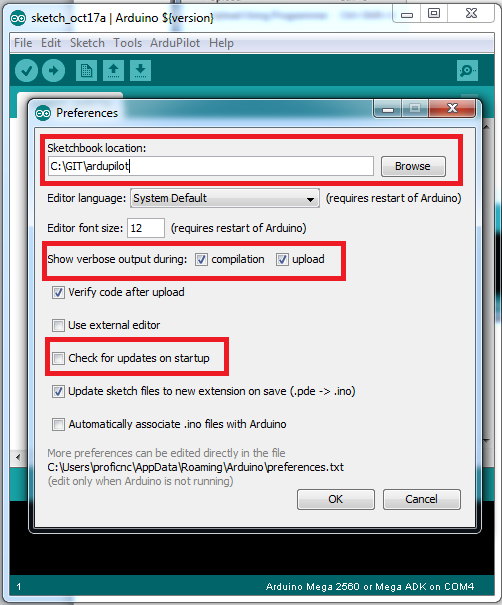
- Set Sketchbook location to your ArduPilot directory in your GIT folder.
- Set verbose for both compile and upload
- And DO NOT check for updates on start-up… (Remember, this is a special version just for ArduPilot.)
- Click OK and close Arduino
Connect your APM to your USB
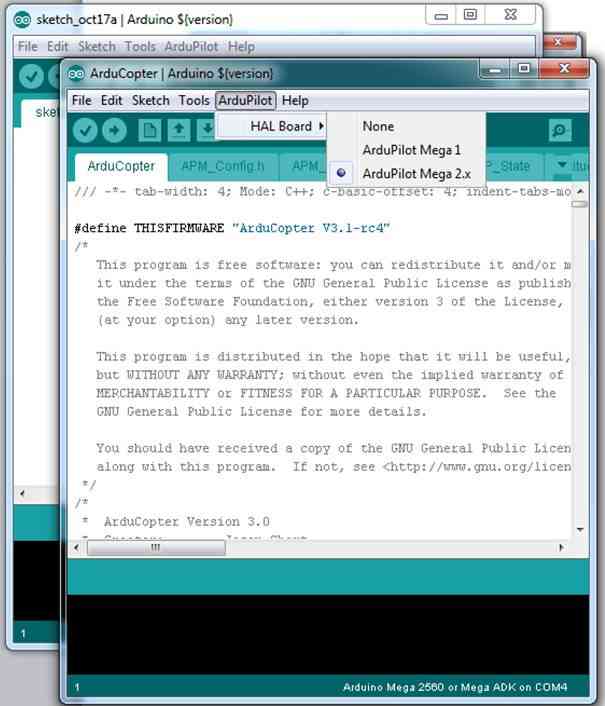
- Re-open ArduPilot and under the file tab, click on sketchbook, then the program you wish to load onto your APM2.x (for this example we will use Copter, though the others use the same methods.
- Once this is loaded, click on the ArduPilot tab, and select ArduPilot mega 2.x out of the HAL options.
- Then click the “Tools” tab and select “Arduino Mega 2560 or Mega ADK” from the “Board” tab.
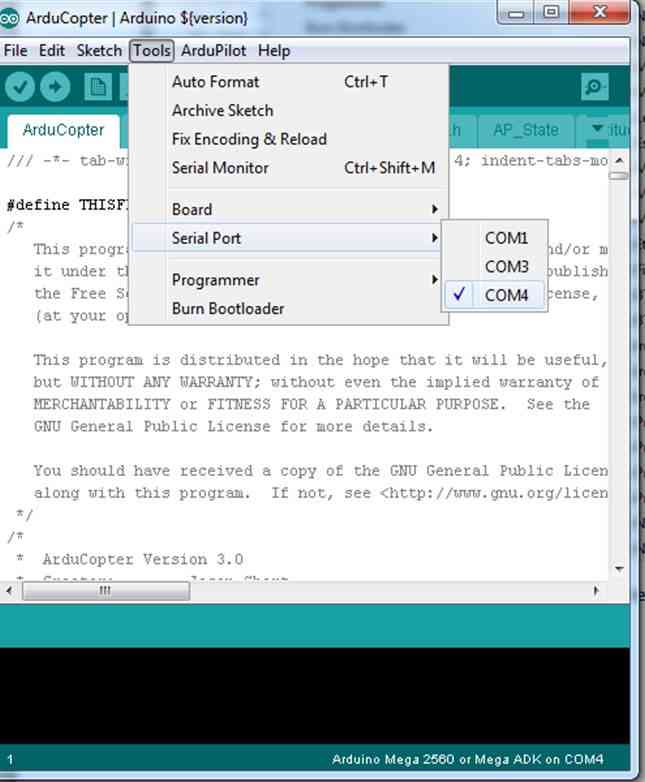
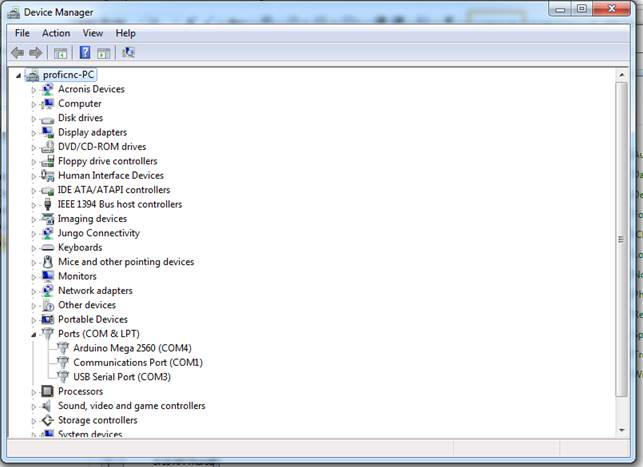
- Next select the Tools tab again, and set the “Serial Port” to the one your APM is connected to.
- In my case it was COM4, but check under device manager / Ports to find out on your system.


Configure Copter
- Click on the APM_Config.h file tab.
- Set your frame type (e.g.
#define FRAME_CONFIG HEXA_FRAME) in order to get the right image for your frame - Enable or disable the features you wish in this file.Ie if you want to compile with auto tune disabled, simply un-comment the line
//# AUTOTUNE DISABLED // disable the auto tune functionality to save 7k of flash
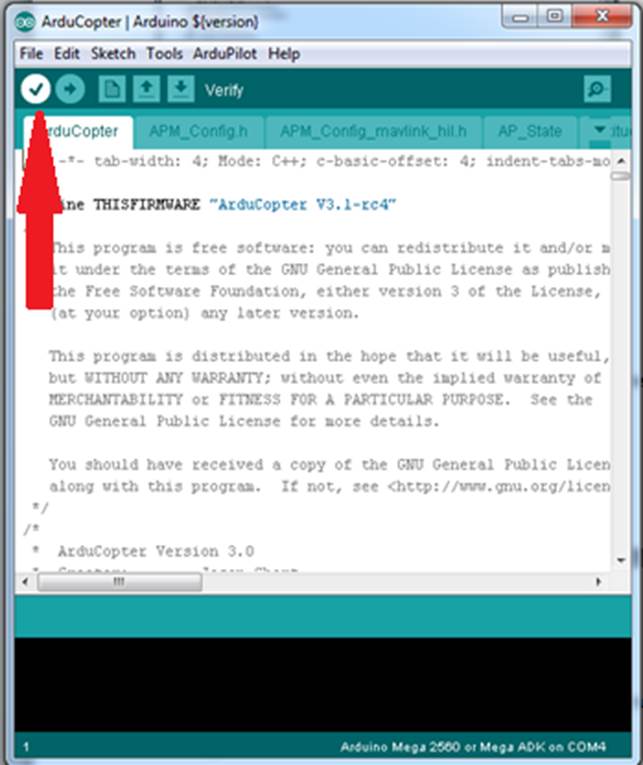
To disable Auto Tune which is enabled by default you would change it to:# AUTOTUNE DISABLED // disable the auto tune functionality to save 7k of flashThe commented out options are the NON-default and all that needs to be done is to un-comment them to use them instead. - Save this file and select the file Copter.At this point you are ready to compile.I would choose Verify for the first attempt.
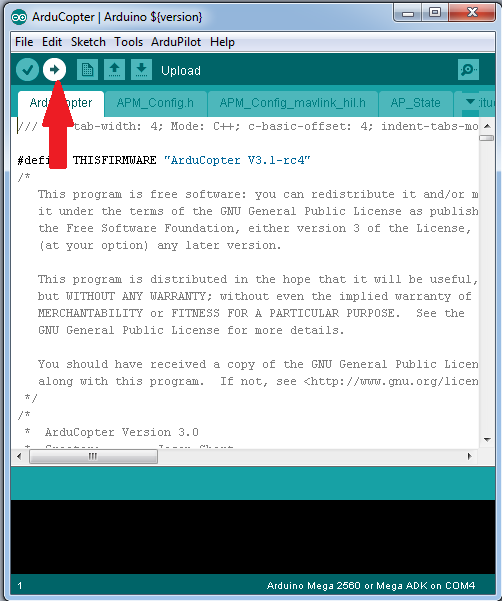
Upload to your ArduPilot
- Then if all is well upload to the autopilot, as shown:This may take a while…
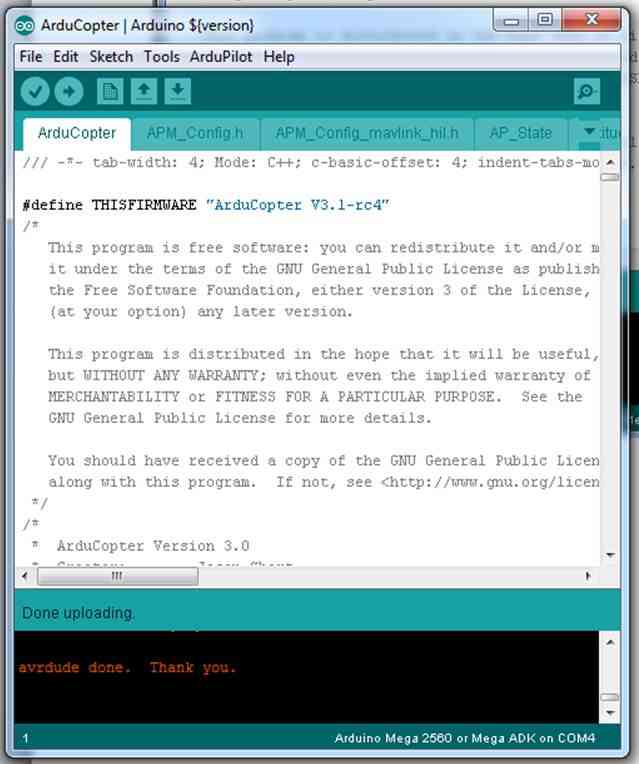
- You should end up with the message as shown below.
- Configure Your ArduPilot using planner, as normal.
http://ardupilot.org/dev/docs/building-ardupilot-with-arduino-windows.html#building-ardupilot-with-arduino-windows
沒有留言:
張貼留言